


I’m posting a mid-month update. No changes to assets or debts since the beginning of December, but on a personal note we just finished up a rather significant project at our camp. I figured I’d share some of our progress and take a little break from the normal personal updates that I’ve been posting.
If you’ve been following my postings, then you’ll know that we bought a second home a little over a year ago in the mountains of Pennsylvania. Since then, we’ve been busy remodeling the place. Just this past weekend we finished a major undertaking with the front wall of the living room. The original front wall of the camp was an old fireplace with a wall in much need of repair. As the title suggests, we tore all the original wall out and put up a stone veneer. I have some pictures to share and show progress. I’ll give a breakdown of materials and cost at the end of this article.
Pictures of the Project
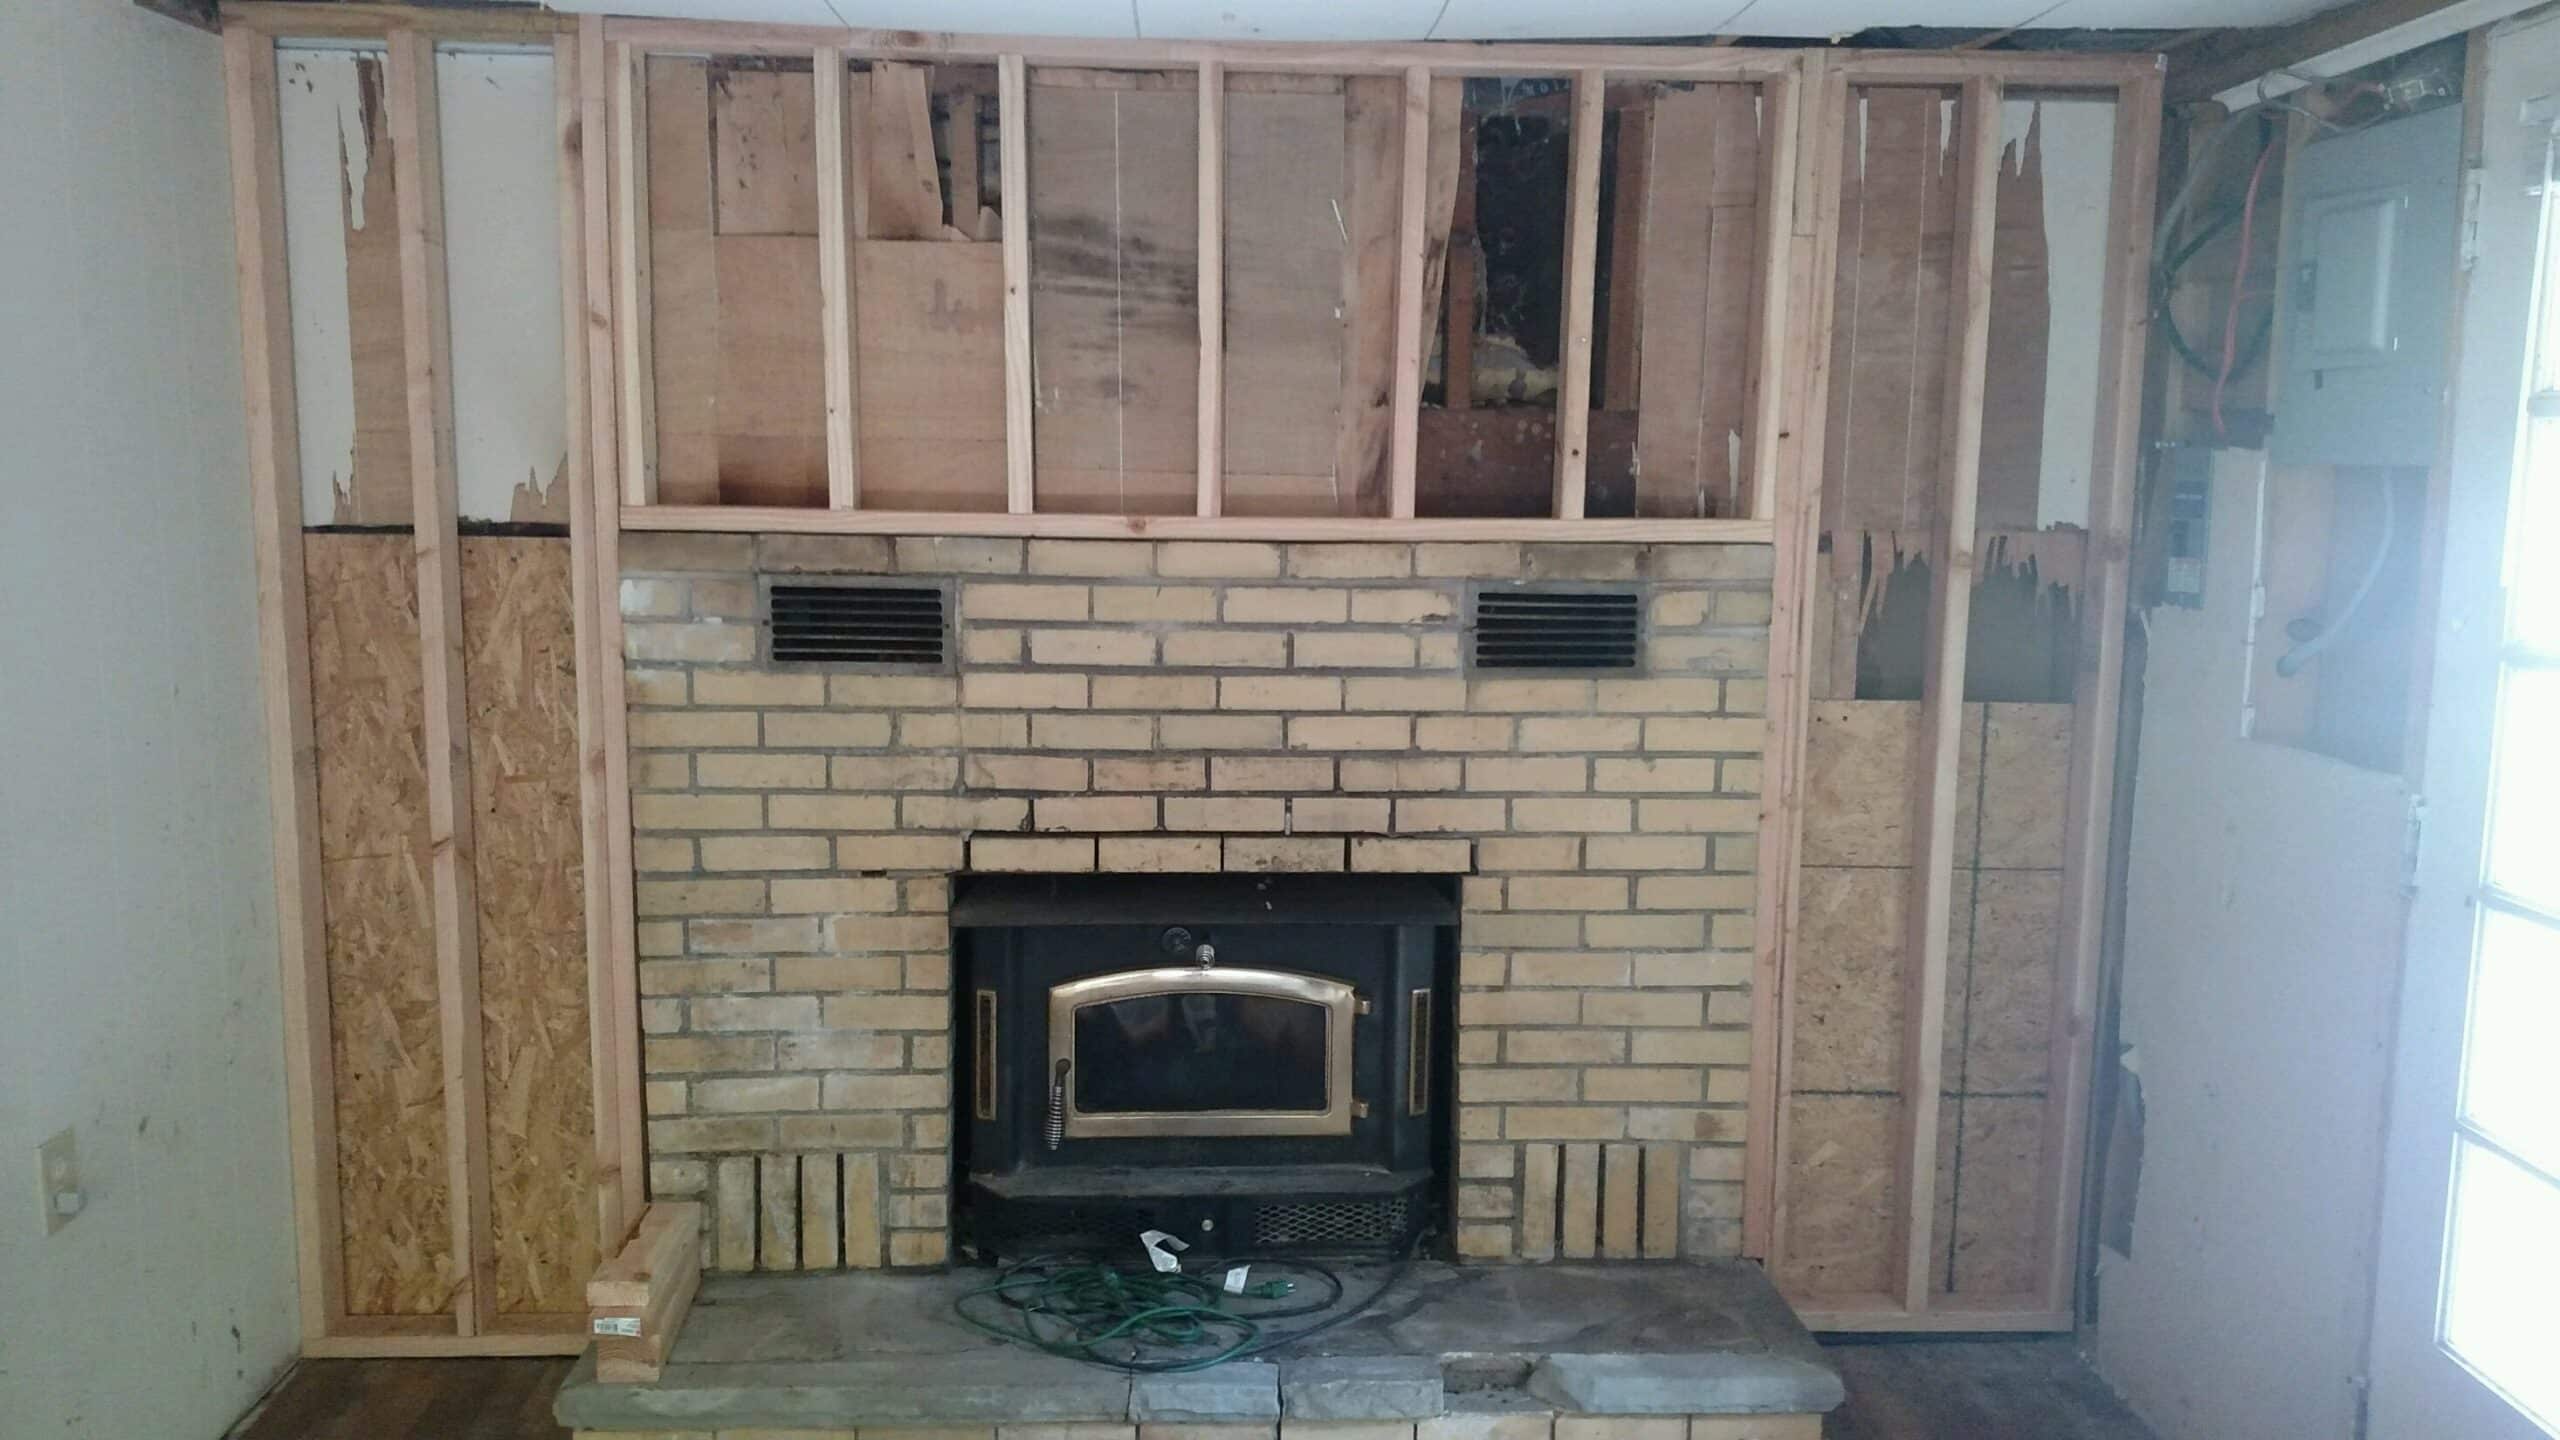
So, here is a picture of the original front wall. Notice the old brick fireplace and wood panel wall. Also, you can see the original panel ceiling and the carpeted floor.

Here is the wall that I had to frame out away from the original wall behind it. This was done to support the weight of the stone that would eventually be applied and to bring the entire wall out flush to the old brickwork. You can also see the wood burner insert that we installed in the original open fireplace. Also, notice the vinyl plank flooring that has replaced the carpeting.
This is the wall with cement board covering the framing. I needed to do this to give the wire meshing and the stone a solid surface to attach to. You can also see the new hearth that I poured on the floor. I extended it the entire length of the front wall and brought it out a few extra inches from the original.

Here is the wall with all of the wire mesh attached and ready for the scratch coat of mortar. This picture gives a better view of the hearth.

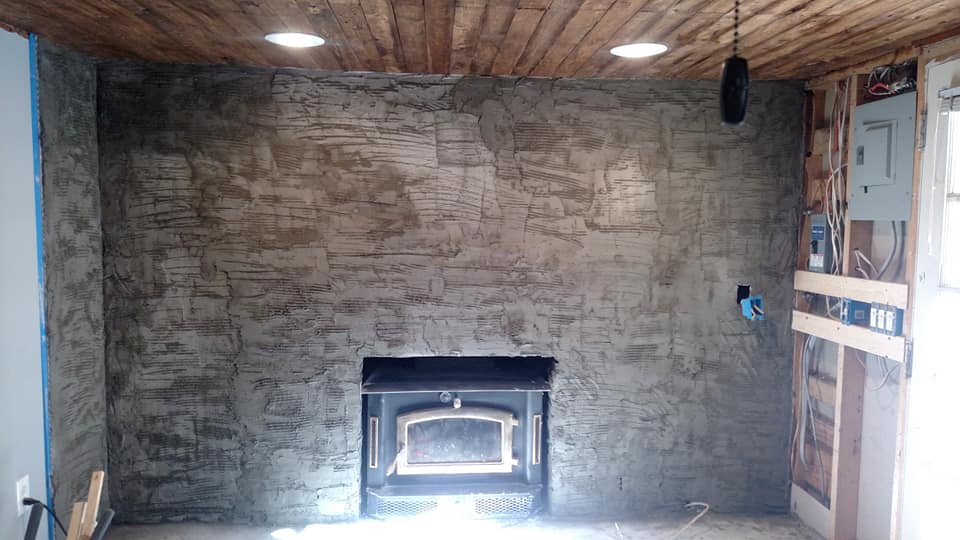
Here is the scratch coat applied to the wall. We are now ready to put up some stone. You can also see the new wood plank ceiling and the recessed can lights that were installed.
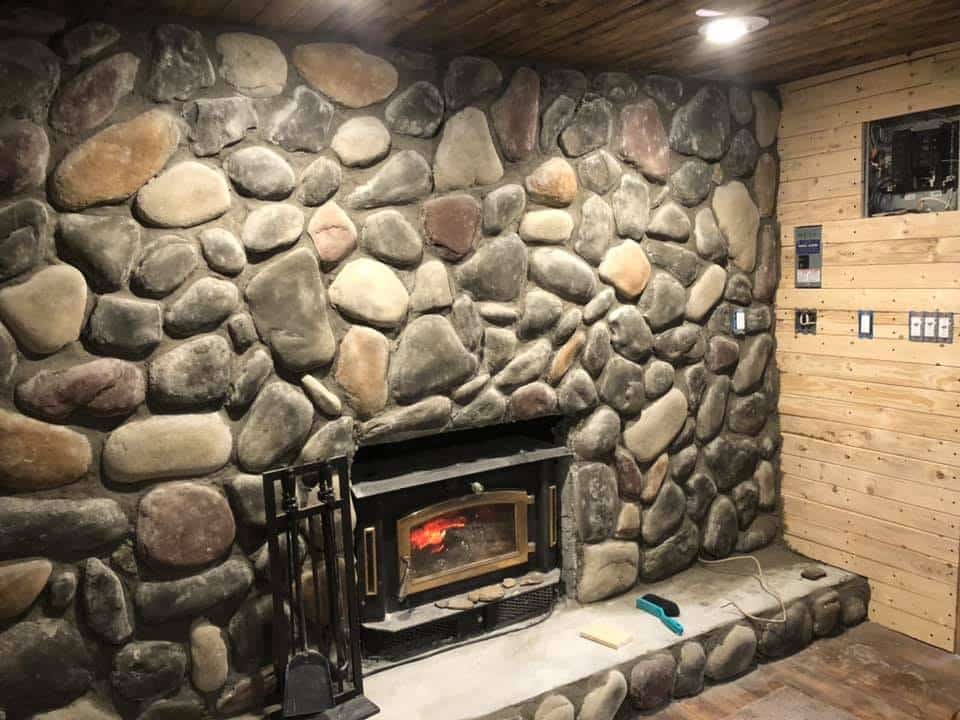
Here is the completed front wall. I think this came out really well. It was a lot of work and took several months to complete, but it was well worth it. We went with a river rock style veneer that was grouted with standard grey mortar. You can also see the accent wall on the right that I built to hide the electrical wiring.
A Breakdown of Time and Money
So there it is. I was only able to chip away at this project on the weekends as time allowed. I started in late August and just finished up in early December. We did all of the work ourselves which no doubt saved a ton of money. Everything was cash flowed, so no debt was taken on for this project. In all, we have around $1,500 in materials in what you see in the picture. That includes all the framing materials, cement board, the stone and mortars, the flooring, the ceiling, and the lighting and electrical components. I don’t want to even guess what something like this would have cost if we had hired someone to do it for us. It was a long project on the advanced side of the scale, but it was well worth it. And, I have the satisfaction of knowing that I did it myself. We will now be able to enjoy this for many years.
Do you have any projects going on? I’d love to hear about them. Post in the comments below and share.
See Also:
Buying a Second Home? Make Sure You Are Prepared
3 Ways To Save Money While Getting Your Home Ready For Winter
10 Decorating Tips for Your First Place

Based in the Pittsburgh, PA area, Brian holds full-time employment as a Warehouse Manager for an electronics firm. Brian enjoys wealth building, investing, gardening and the great outdoors. Brian holds a B.A. in Environmental Studies from the University of Pittsburgh and an MBA from Robert Morris University.


